Molding and casting with the Mayku FormBox
Create your own Soaps & Sweets in No Time
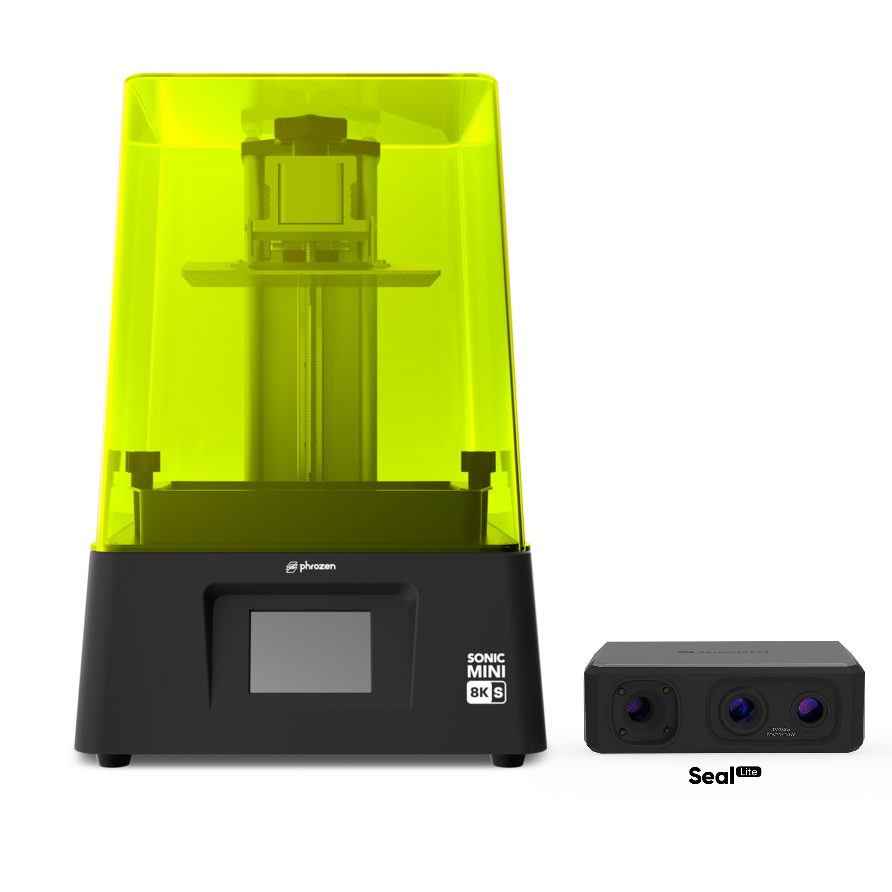
Gone are the days when making personalised gifts was something for crafters! Nowadays, the best customized gifts are made using 3d scanning, 3d printing, molding and casting. Today, we’re exploring how you can use 3D technology to make custom soaps, chocolates, or bonbons. This fun project is perfect for gifts, parties, or just to enjoy at home. In this blogpost we are working with the Mayku FormBox Vacuum Former for moulding, the 3D MakerPro Scanner Seal Lite for scanning and the Flashforge Adventurer 5M Pro for printing. You can, ofcourse, also use a resin printer like the Phrozen Sonic Mini 8K S to 3D print even more detailed models form your scan.


Step 1: Scan with the Seal Lite
Start by choosing an object you love. It could be anything – a toy, a leaf, or a special design. Use the 3DMakerpro Scanner Seal Lite to capture its shape. This scanner is user-friendly and precise, making it ideal for beginners and experts alike.
Ofcourse you can also search for an app that you can use with your phone to make a scan of an object and get a 3D model this way.
Edit the 3D model that you have created by scanning in a 3D design app like Tinkercad. Add personal details like name or add and remove features of your model until your happy with your design.

Step 2: Print with the Flashforge 5M Pro
Next, transfer your scanned design to the Flashforge Adventurer 5M Pro printer. This printer transforms your design into a 3D model. It’s amazing to see your chosen object come to life in 3D form! The Flashforge Adventurer 5M Pro is known for its superfast and high-quality prints, perfect for detailed designs.
Rather print resin models?
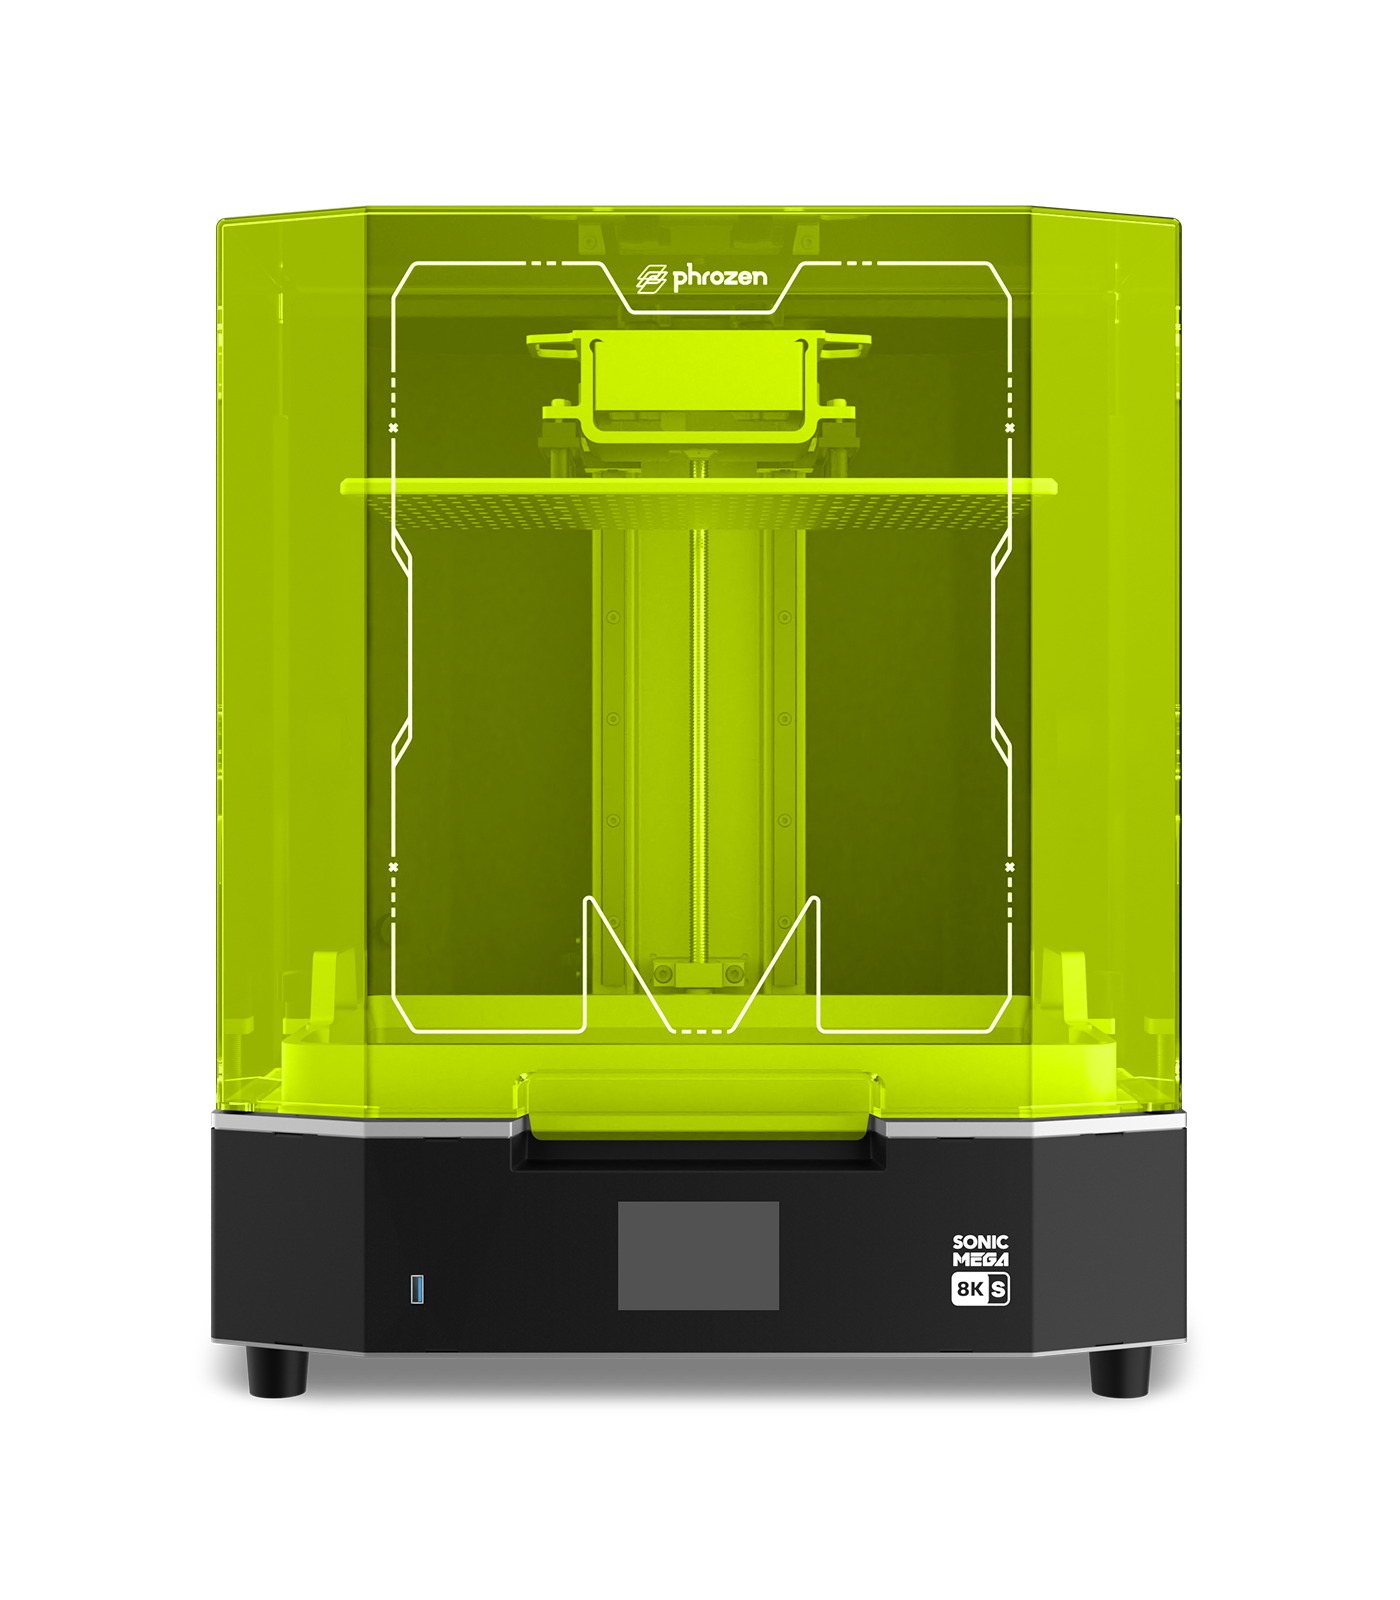
Ofcourse you can also print your model with a resin printer, like the Phrozen Sonic Mini 8K S resin printer. This printers 8K resolution brings an unprecedented level of clarity and detail to your prints, but printing ill take some more time.
Step 3: Molding and casting with the Mayku Vacuumformer
Now, it’s time to make a mold. Put your model on the Mayku FormBox Vacuum Former. Use Mayku Clear Sheets to make a mold. These sheets are re-usable and food safe. This Mayku FormBox shapes the Cast sheets around your 3D printed object, creating a perfect mold. It’s easy to use and works wonders for making detailed molds. Also a lot of fun to do together with your child!


Step 4: Casting your Soaps or Chocolates
Finally, the fun part! Melt soap or chocolate and pour it into your new mold. Once it cools and sets, you’ll have your own personalized soap or chocolate. Imagine the possibilities – unique shapes, designs, and even mixing colors for a special touch.
Do you need some more tips for either molding and casting?
- Mayku guide ‘How to Make Custom Soap Molds‘
- Watch this video of a Chocolate project from CREATE Education.
- Mayku is often used in Education. Check out there informative page for teachers looking for inspiration!
Conclusion
With these steps, you can create something truly unique. Whether for a special occasion or just for fun: personalized soaps and chocolates are a great way to show creativity. So, why not start your 3D printing adventure today?!